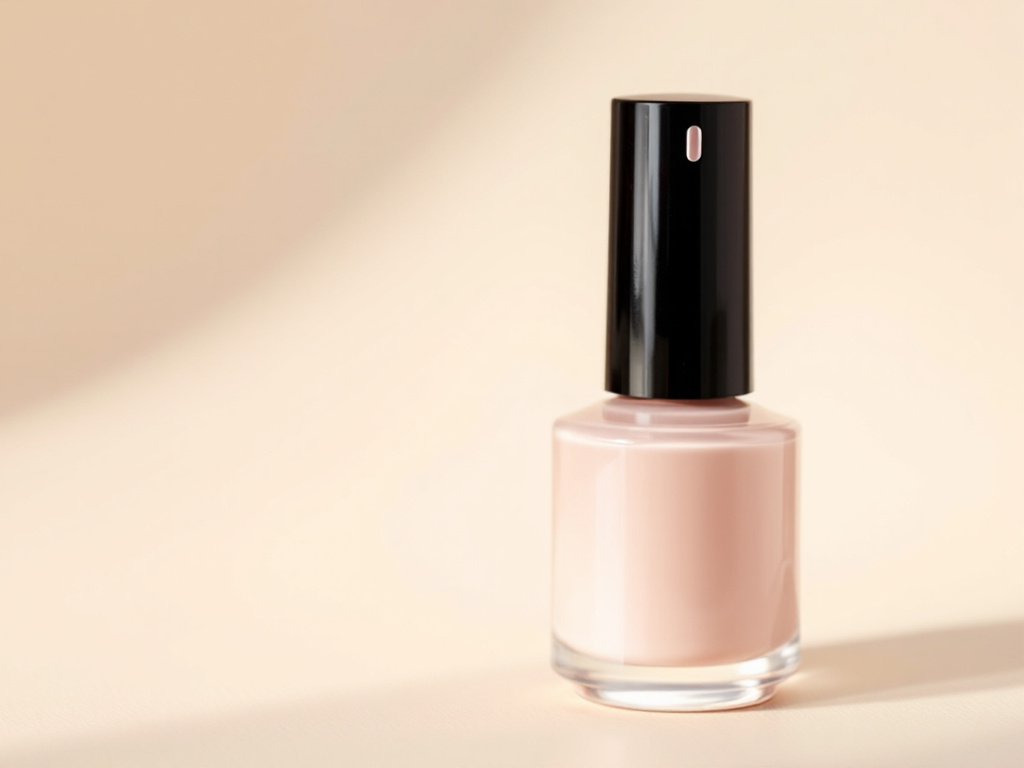
How to Make Nail Polish At Home

Making your nail paint at home is a fun and fulfilling do-it-yourself project. Not only can you change the colors and patterns of your nail polish, but you also have precise control over its ingredients. This guide offers step-by-step instructions for making nail polish at yourself. Before concluding with guidance on attaining the best results, let’s address some often-asked questions.

Table of Contents

  • Introduction
  • Materials Needed
  • Preparing Your Workspace
  • Choosing and Preparing Pigments
  • Mixing the Pigments and Base
  • Bottling the Nail Polish
  • Adding the Mixing Balls
  • Testing Your Nail Polish
  • Tips for Customizing Your Nail Polish
  • Creating Different Finishes
  • Adding Glitter
  • Experimenting with Colors
  • Pros and Cons
  • Common Mistakes to Avoids
  • FAQs
  • Conclusion
how to make nail polish at home
image: unsplash

Introduction

It’s quite simple to make your nail paint at home. You may make one-of-a-kind hues that express your style with a few simple ingredients and a little imagination. With this guidance, you will have an understanding of the procedure and the self-assurance to begin your own experiments.

Materials Needed

To make nail polish at home, you will need the following materials:

  • Clear nail polish base
  • Cosmetic-grade pigments or mica powders
  • Mixing balls (small stainless steel or glass beads)
  • Empty nail polish bottles
  • Small funnel
  • Mixing sticks or toothpicks
  • Gloves and a mask (optional, for safety)
  • Paper towels and a clean workspace

Step-by-Step Guide

1. Preparing Your Workspace

Setting up your workspace properly is essential before you begin. Ensure your work surface is spotless and level. To absorb spillage, place some paper towels down. To avoid breathing in any fine pigments, it’s also a good idea to use a mask and gloves.

2. Choosing and Preparing Pigments

Making the correct pigment selections is essential to producing gorgeous nail polish. Mica powders or pigments intended for cosmetic usage are suitable for use on nails. These pigments can be used to create bespoke tints and are available in a wide range of colors.

First, decide whatever pigment colors you want. Use a tiny palette or mixing tray to blend colors while mixing them. Ensure that the pigments are lump-free and finely ground.

3. Mixing the Pigments and Base

It’s time to combine your pigments with the nail polish base now that they are prepared. Pour the clear nail paint base into the empty nail polish bottle using a little funnel. To make room for the pigments, fill the bottle approximately three-quarters of the way.

Next, fill the bottle with the pigments using a toothpick or small mixing stick. To get the desired color, start with a little amount and add more gradually. To guarantee that the pigments are dispersed equally, make sure you mix well.

4. Bottling the Nail Polish

It’s time to bottle the nail polish if you’re satisfied with the color. Use the little funnel to transfer the mixture, if you haven’t already, into an empty nail polish bottle. Don’t overfill the bottle; instead, fill it up to the brim.

5. Adding the Mixing Balls

Place a few mixing balls inside the bottle to aid in maintaining the pigments’ mixture and preventing them from settling. When you shake the bottle well before using the polish, these tiny glass or stainless steel beads will help keep the polish thoroughly mixed.

6. Testing Your Nail Polish

Before applying the nail polish to your nails, it’s a good idea to test it on a swatch of paint or a piece of paper. This will make the final color and texture easier to see. If you’re unhappy with the results, you can always adjust the formula by adding more pigment or base.

Tips for Customizing Your Nail Polish

1. Creating Different Finishes

Making your own nail polish allows you to tailor the finish, which is one of its best features. Here are some concepts:

  • Matte Finish: Lightly dust the base with a bit of matte pigment or powder.
  • Glossy Finish: Apply a clear gloss or a high-shine topcoat to the foundation.
  • Holographic Finish: For a stunning appearance, add glitter or holographic pigment to the finish.

2. Adding Glitter

Your nail polish can seem lively and festive with the addition of glitter. To make sure glitter is safe for nails, use cosmetic-grade glitter. Apply a tiny amount at first, and more as necessary. To avoid clumps, be careful to fully combine.

3. Experimenting with Colors

Don’t be scared to use color creatively. Combine various pigments to produce distinctive colors. To create unique colors, you may even add a few drops of nail polish from other bottles. Just be sure to thoroughly mix to guarantee that the pigments are distributed evenly.

Pros and Cons of Making Nail Polish at Home

It could be rewarding and pleasurable to make your own nail paint at home. Like any do-it-yourself projects, though, it has advantages and disadvantages of its own. We will go through the benefits and drawbacks of making nail polish at home to help you decide if this is the right project for you.

Pros

1. Customization: 

Creating unique colors and finishes is one of the main benefits of manufacturing your nail polish. To get the precise shade you like, you can blend pigments, add glitter for a little sparkle, and try out other textures like holographic or matte.

2. Cost-Effective: 

Although the initial cost of supplies may appear costly, creating your nail polish may end up being more affordable over time. Compared to purchasing individual bottles from a store, you can make numerous bottles of polish with a single set of components.

3. Knowledge of Ingredients:

 When you make your own nail polish, you are fully aware of the components that go into it. If you are allergic to or sensitive to any of the typical chemicals present in commercial nail paints, this can be really helpful.

4. Fun and Creative Activity: 

Whether you do it by yourself or with friends, creating nail paint can be a creative and entertaining pastime. It’s an excellent method to showcase your artistic abilities and try out various hues and effects.

5. Unique and Personal:

 A homemade nail polish can be a very special and customized present. Your friends and family will value the time and care you took to design a unique color for them.

Cons:

1. Time-Consuming

If you’re new to the procedure, creating your own nail paint can take a lot of time. Mixing pigments, testing colors, and refining formulas take time.

2. Initial Cost: 

Buying the required supplies (powders, clear base, and empty bottles, for example) might be expensive at first. But you can produce several batches of nail polish with these ingredients.

3. Messy Process: 

Blending colors and applying nail paint can be a disorganized process. It’s crucial to work in a well-protected area and wear suitable clothing because spills and splatters are common.

4. Needs Some Skill:

 It takes some talent and experience to make nail polish of this caliber. A few tries may be necessary to achieve the ideal hue and uniformity.

5. Limited Shelf Life:

 The shelf life of homemade nail polish may be shorter than that of store-bought goods. To avoid separation or clumping, it’s critical to keep your creations correctly and use them within a fair amount of time.

Avoiding Common Mistakes When Making Nail Polish at Home

Making your own nail polish can be a creative and fun process, but there may be a few obstacles to overcome. Here are a few pointers and techniques to assist you make sure your handmade nail polish turns out gorgeously every time while avoiding some frequent difficulties.

1. Not Mixing Pigments Thoroughly:

Mistake: One of the most frequent errors is not completely combining the pigments with the base polish. This may lead to streaks and uneven hue.

Solution: Mix the pigments thoroughly by taking your time. To ensure the mixture is evenly distributed, use a toothpick or small stick to stir it. Another way to maintain the pigments’ uniform distribution is to add mixing balls to the bottle.

2. Using Non-Cosmetic Grade Pigments

Mistake: Applying pigments that aren’t meant for cosmetic usage or other materials on nails can lead to damage and subpar polish.

Solution: Only use glitters and pigments of the highest caliber for cosmetics. These are especially made to be safe to use to the skin and nails.

3. Overfilling the Bottle

 Mistake: When nail polish is overfilled, it can be difficult to combine the color and can result in spills and mess.

Solution: Just around three-quarters of the container should be filled to allow for mixing and to avoid spilling when the brush and cap are added.

4. Not Testing the Color 

Mistake: When applying nail polish to your nails, neglecting to test the color can have unanticipated consequences.

Solution: Prior to use, always test the polish on a paper piece or a swatch of nail paint. This will help you to make any necessary tweaks because it will give you an excellent idea of the final color and texture.

5. Ignoring Safety Precautions

Mistake: If you do not take the necessary safety measures, you run the risk of breathing in fine pigments or getting chemicals on your skin.

Solution: To prevent yourself from breathing in small particles, work in an area with good ventilation and think about donning a mask and gloves. To catch spillage, cover your workplace with paper towels or a disposable tablecloth.

6. Using an Old or Thick Base: 

Mistake: Using an old or thickened clear nail polish base might cause the lacquer to become uneven and clumpy.

Solution: The answer is to make sure your clear foundation is high-quality and fresh. To get the right consistency, thin out any excess by adding a few drops of nail paint thinner.

7. Adding Too Much Glitter:

Mistake: Too much glitter can thicken and make polish application challenging.

Solution: Apply a tiny bit of glitter at first, then if needed, apply more over time. Make sure the polish stays a smooth, apply-easy consistency and that the glitter is well-mixed.

8. Not Cleaning Up Right Away

Mistake: Spills and splatters that are not cleared up right away can leave your workspace disorganized and stained.

Solution: To wipe up spills as soon as they occur, always have acetone or nail polish remover on available. This will help keep your desk tidy and stain-free.

9. Ignoring the Mixing Balls

Mistake: If mixing balls are left out of the nail polish bottle, pigments may settle at the bottom and apply color unevenly.

Solution: Always fill the bottle with a few mixing balls. Every time you use the polish, these will help maintain the pigments’ mixing and guarantee a constant hue.

10. Incorrect Storage 

Mistake: Store your handmade nail polish improperly to prevent separation and spoiling.

Solution: One approach to store nail polish is to keep it out of direct sunlight in a cool, dry environment. To avoid drying out and ingredient separation, keep the bottle tightly closed when not in use.

FAQs

Q: Is it safe to make nail polish at home?

Yes, it is safe to make nail paint at home as long as you use pigments and glitters intended for cosmetic usage. If you’re worried about breathing in small particles, make sure you operate in an area with good ventilation and wear gloves and a mask.

Q: How long does homemade nail polish last?

If stored correctly, homemade nail polish can last just as long as store-bought polish. The bottles should be kept well sealed and kept out of direct sunlight in a cool, dry location.

Q: Can I use food coloring to make nail polish?

Adding food coloring to nail polish is not advised since it might cause the base to mix poorly and compromise the polish’s durability and quality.

Q: What can I use if I don’t have a clear nail polish base?

You can reuse an old clear nail polish that you don’t mind recycling if you don’t have a clear base. Just make sure it’s not too clumpy or thick, and that it’s still in good form.

Q: How do I clean up spills?

Acetone or nail polish remover can be used to clean up spills of nail polish. Spills should be cleaned up right once to avoid stains.

Conclusion:

A creative and enjoyable method to show off your own style is to make your own nail paint at home. You may make unique hues and finishes that aren’t found in stores with just a few basic supplies. You’ll gain the knowledge and self-assurance necessary to begin experimenting with your own nail polish designs by following this instruction.

Leave a Comment